Contact Us
Questions?

I am increasingly obsessed by trying to do better, more precise work. This may not be the end all be all, but I like this piece a lot, a black, cast-iron tea pot, a handleless mug of green tea...
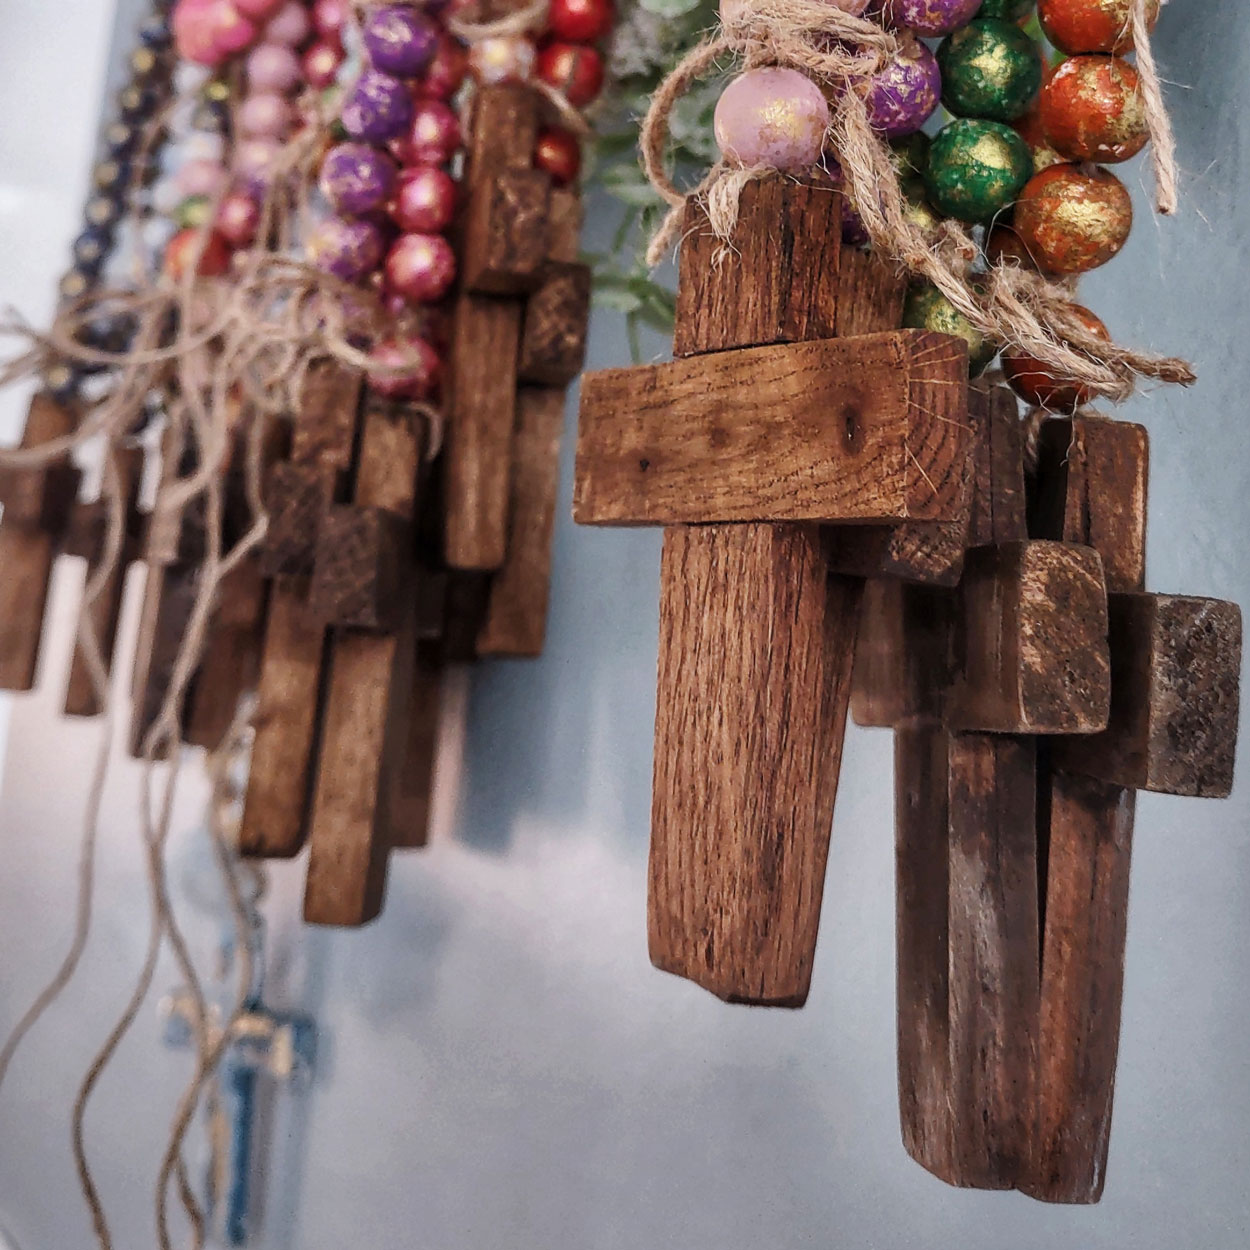
3-½" maple and oak crosses for wall hangings, all mortised together, aged and stained!
fun fact-the oak came from a tree on our property that had fallen. I had removed the bulk, but saved some short pieces to play with.

These massive candle holders are the perfect centerpiece...
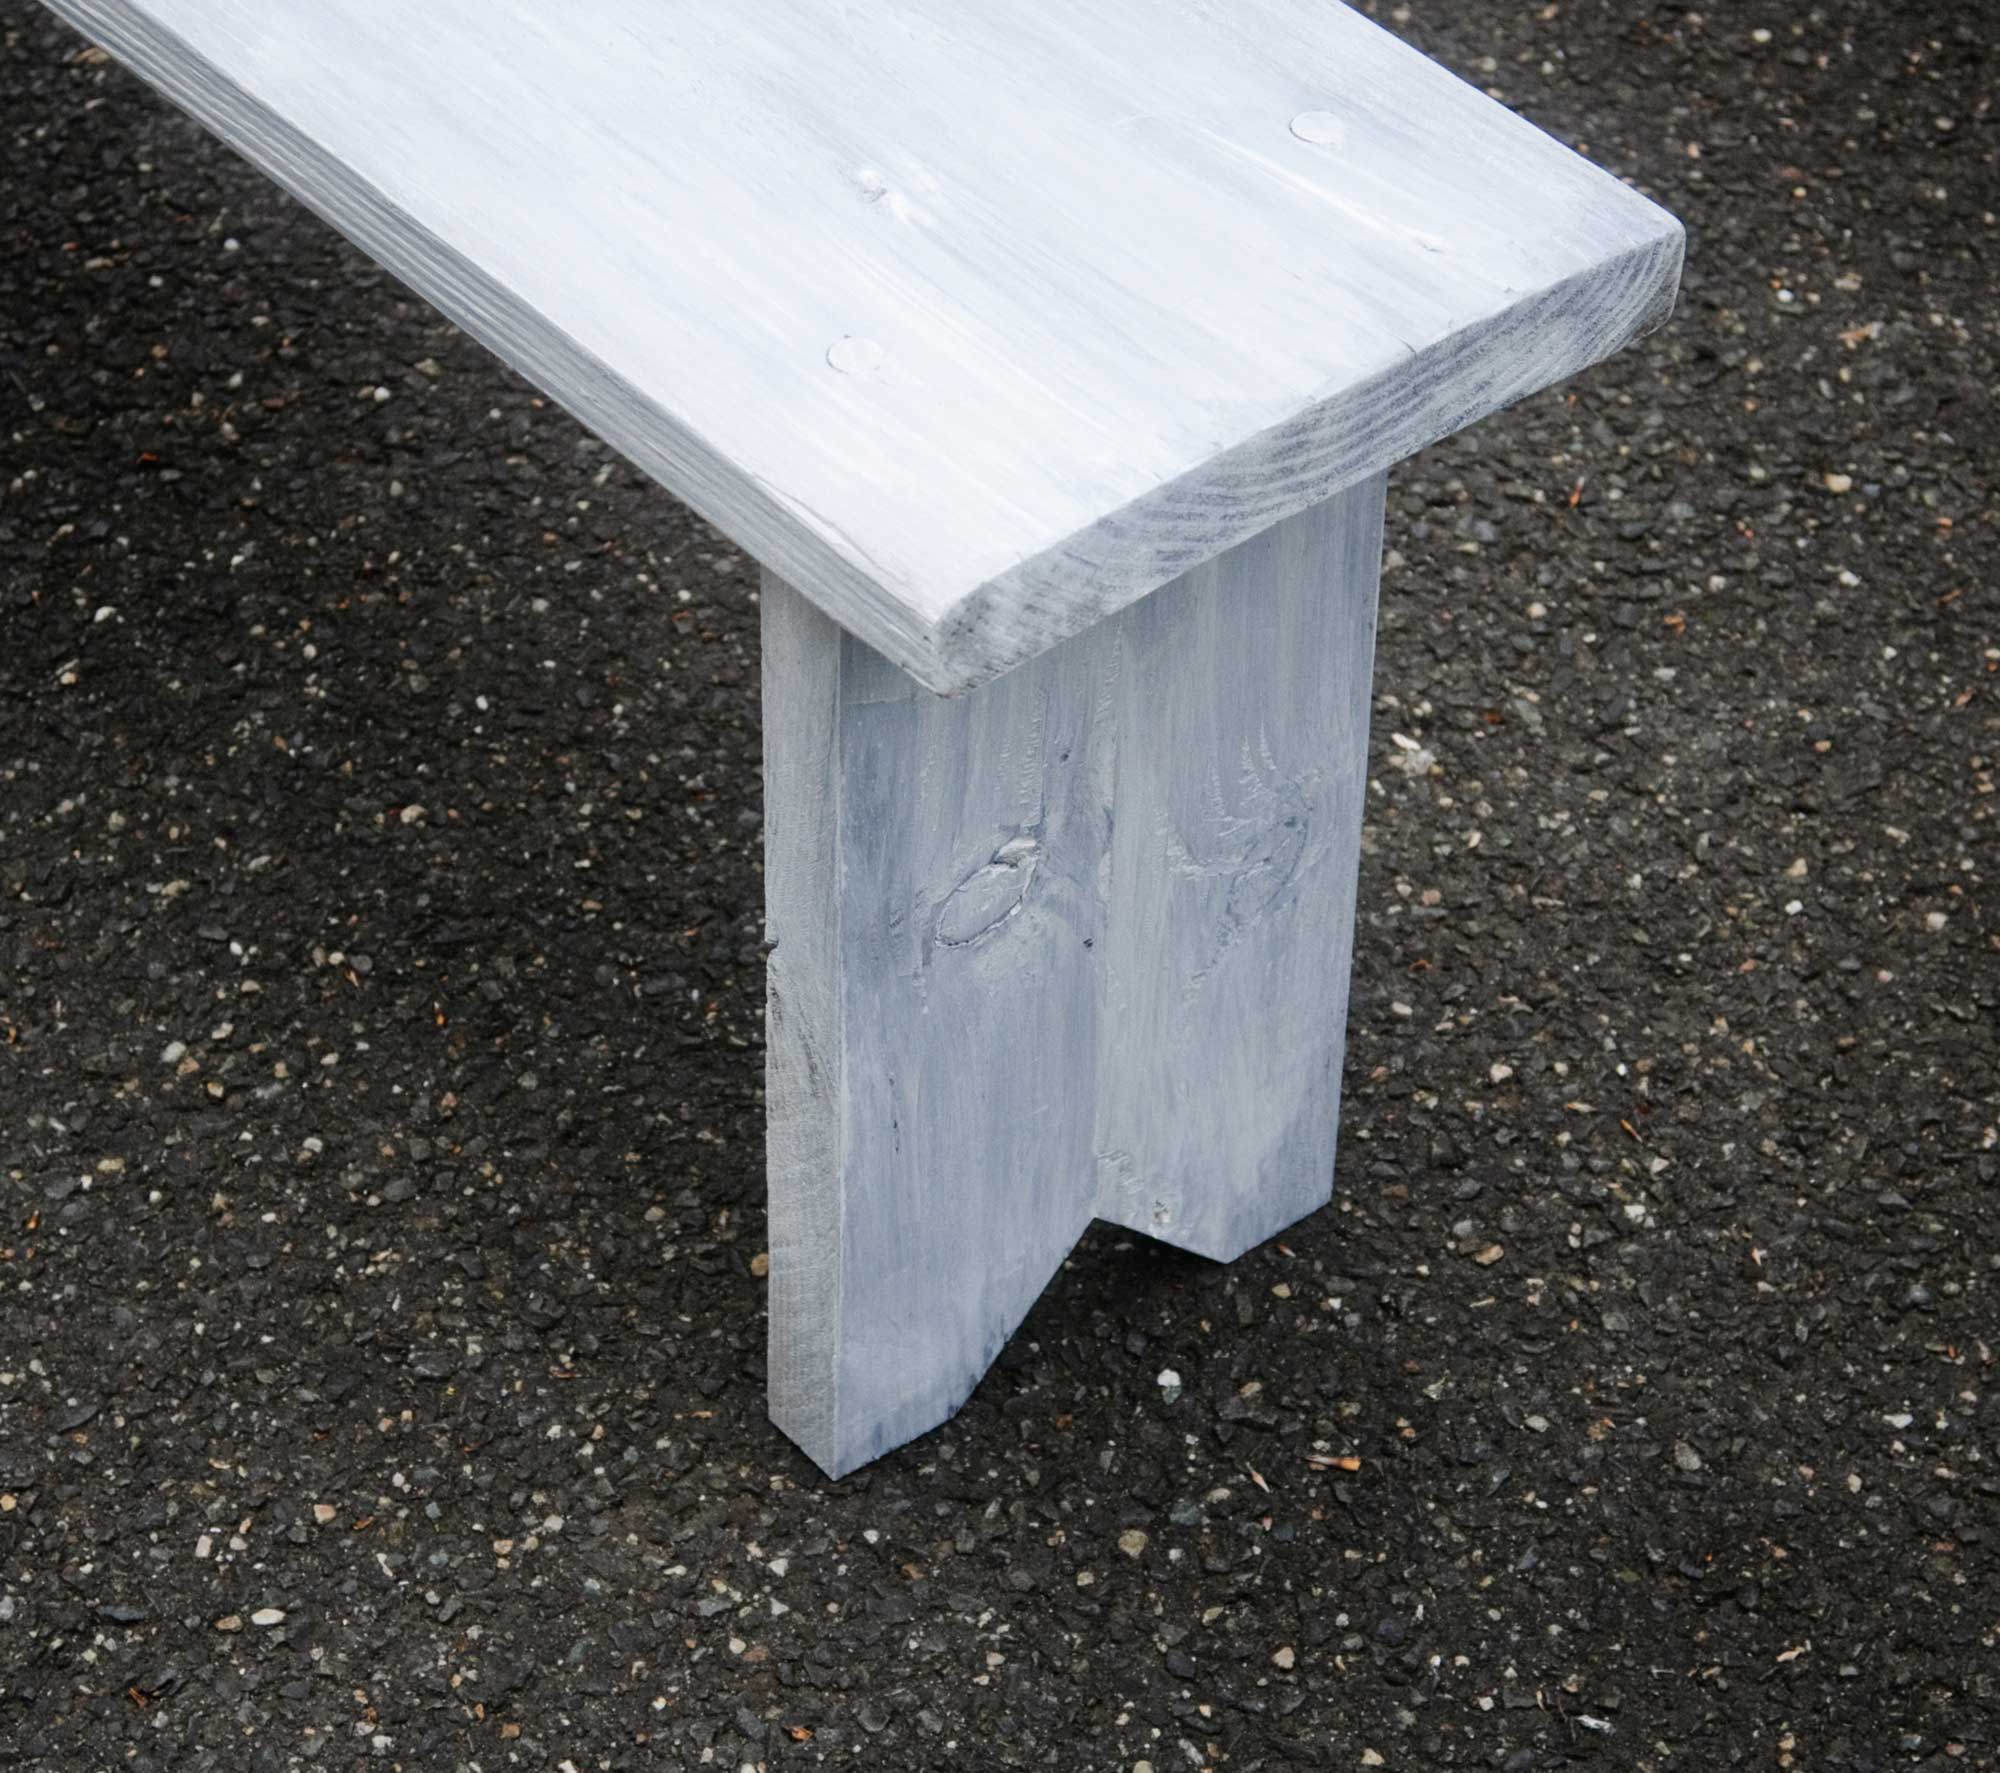
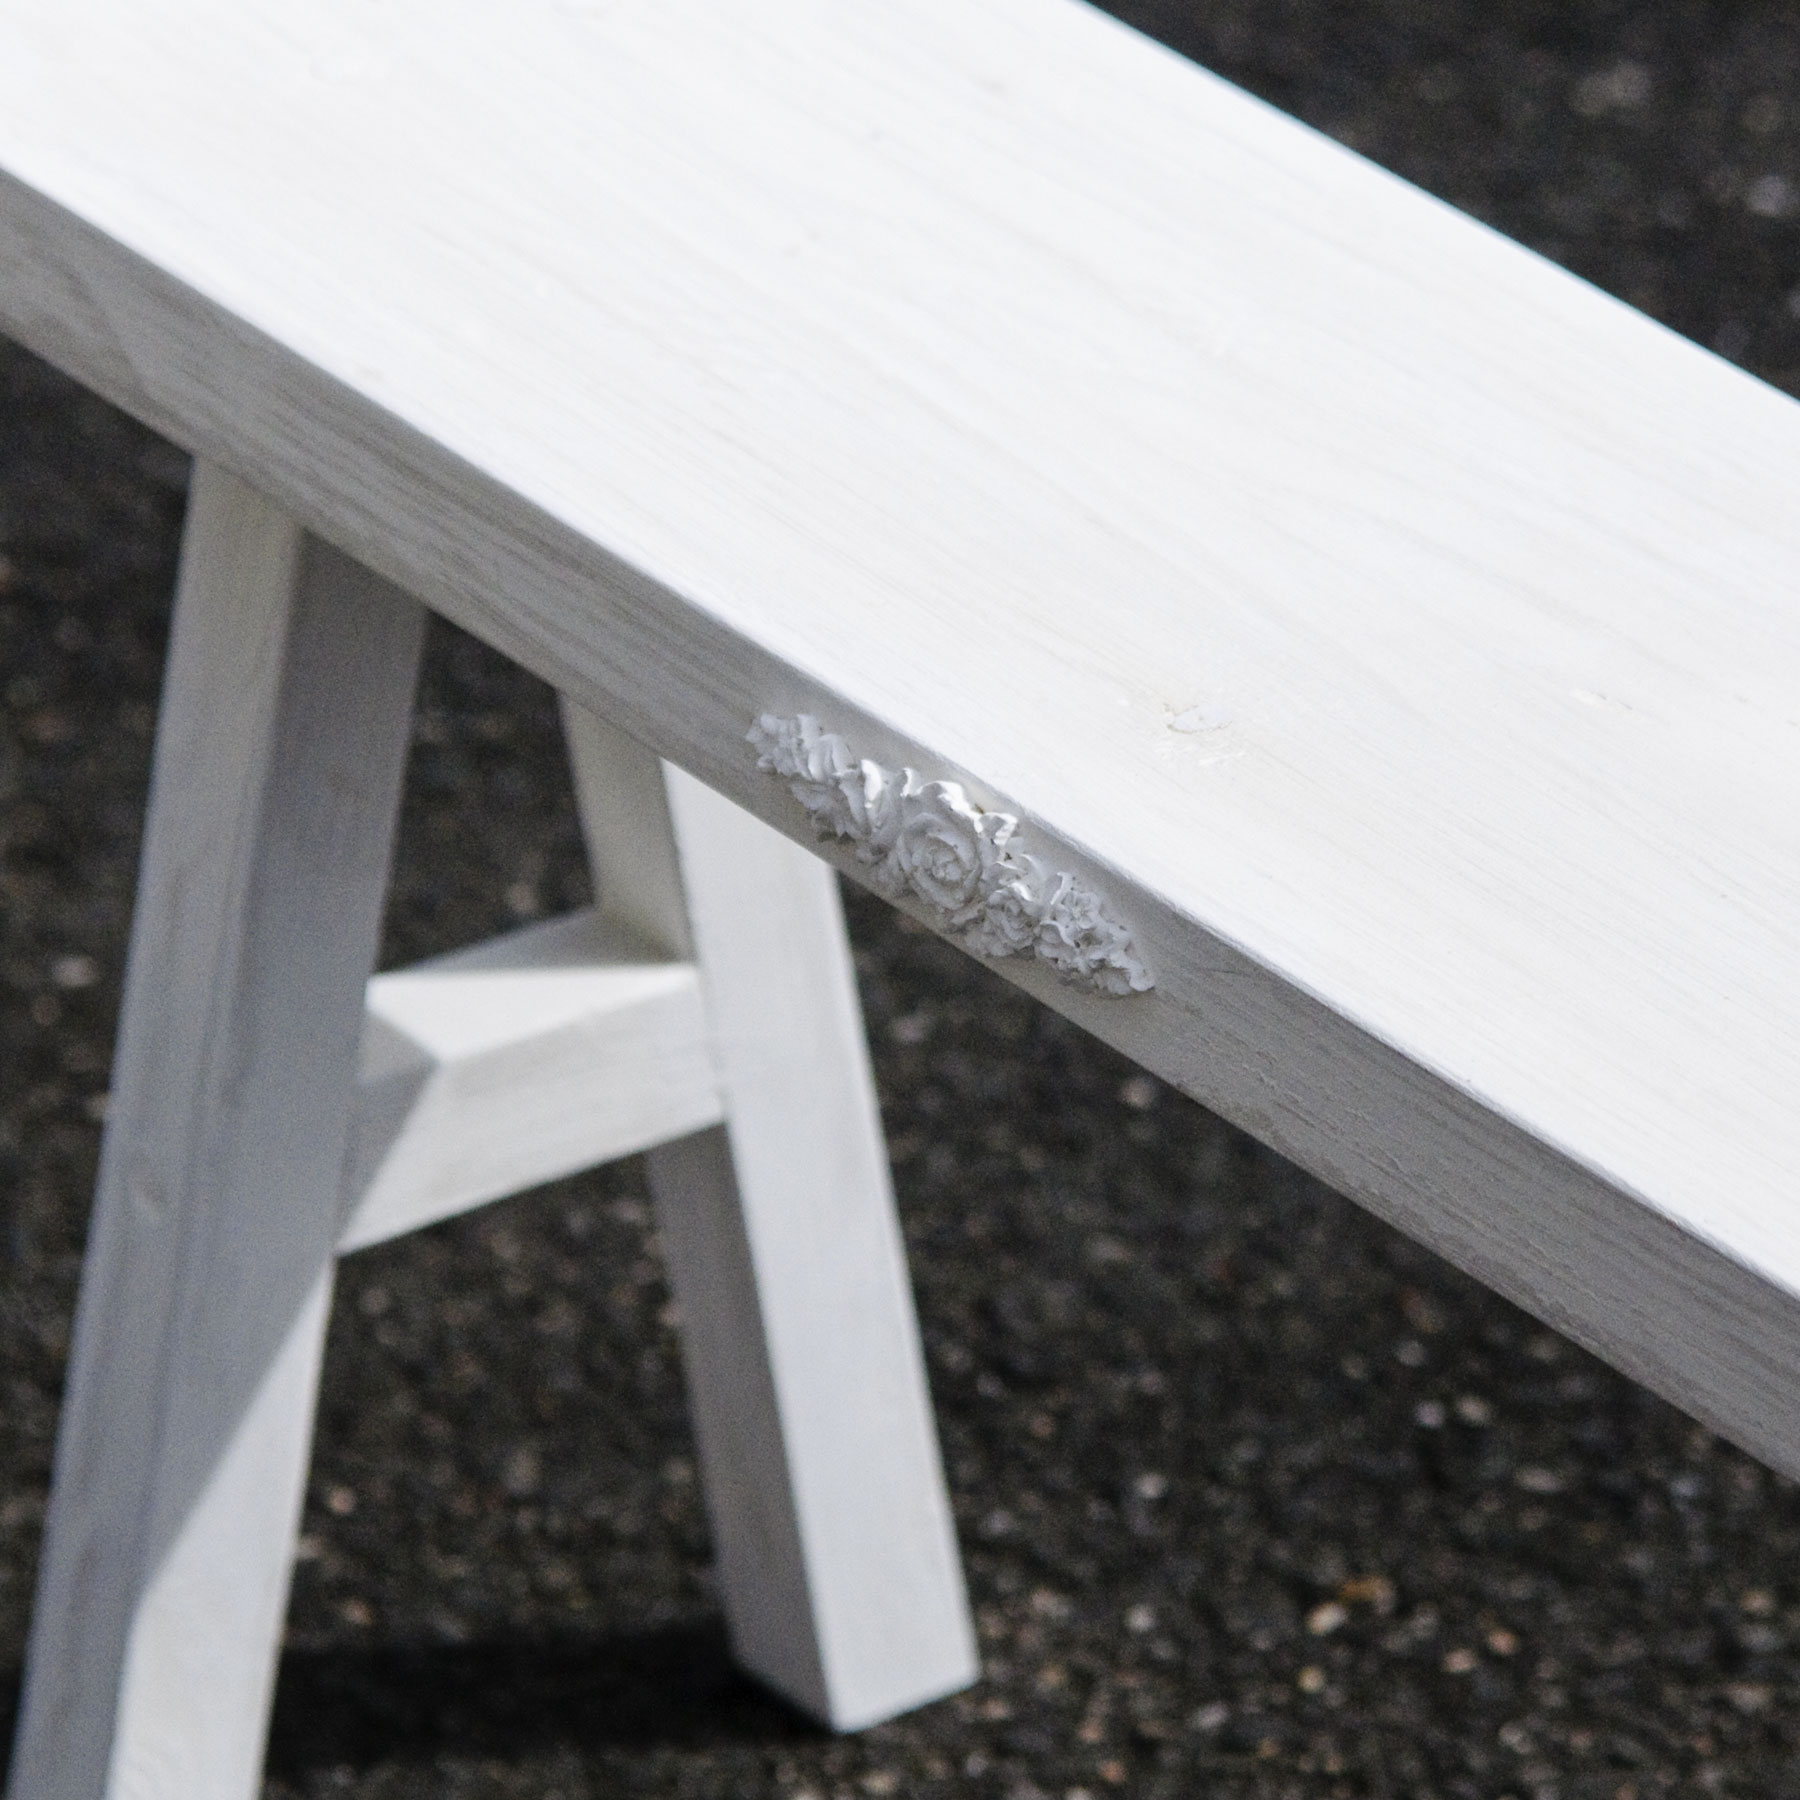
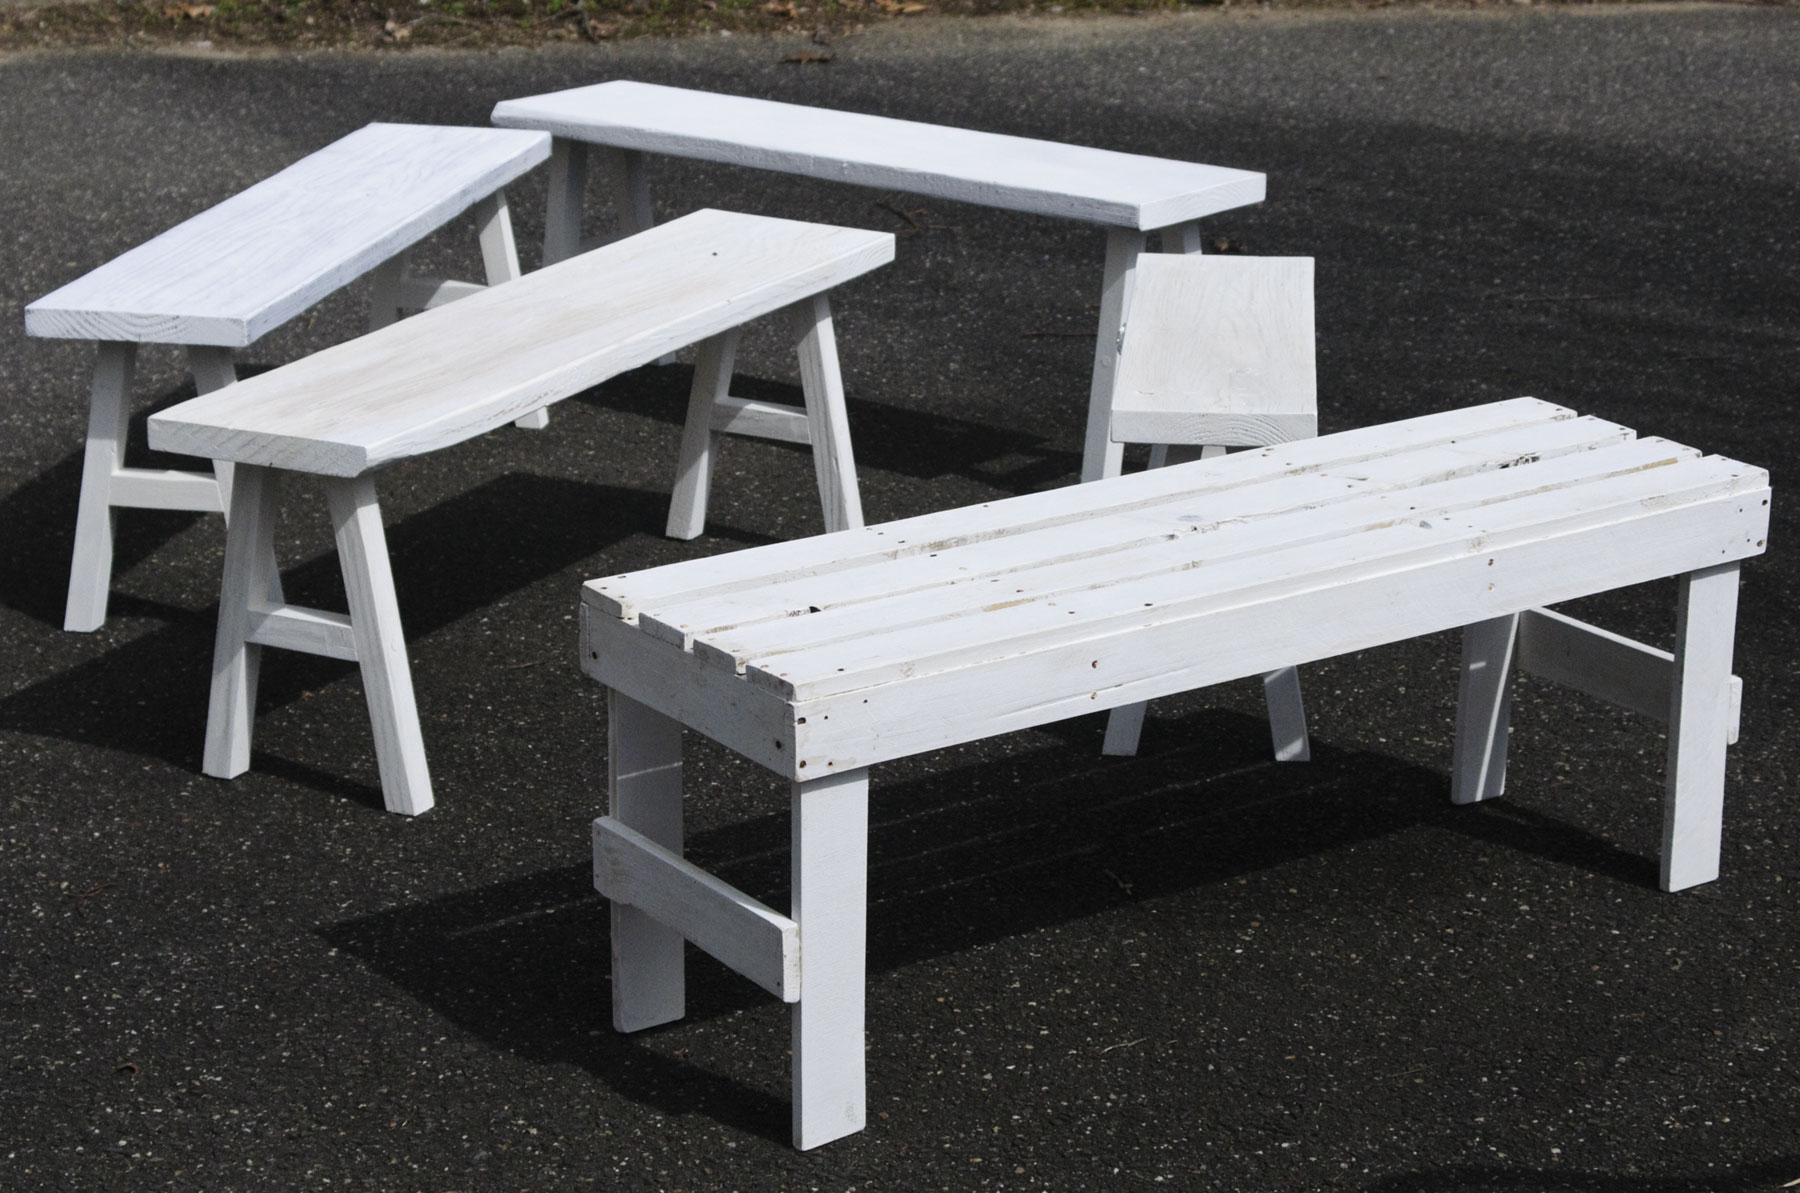
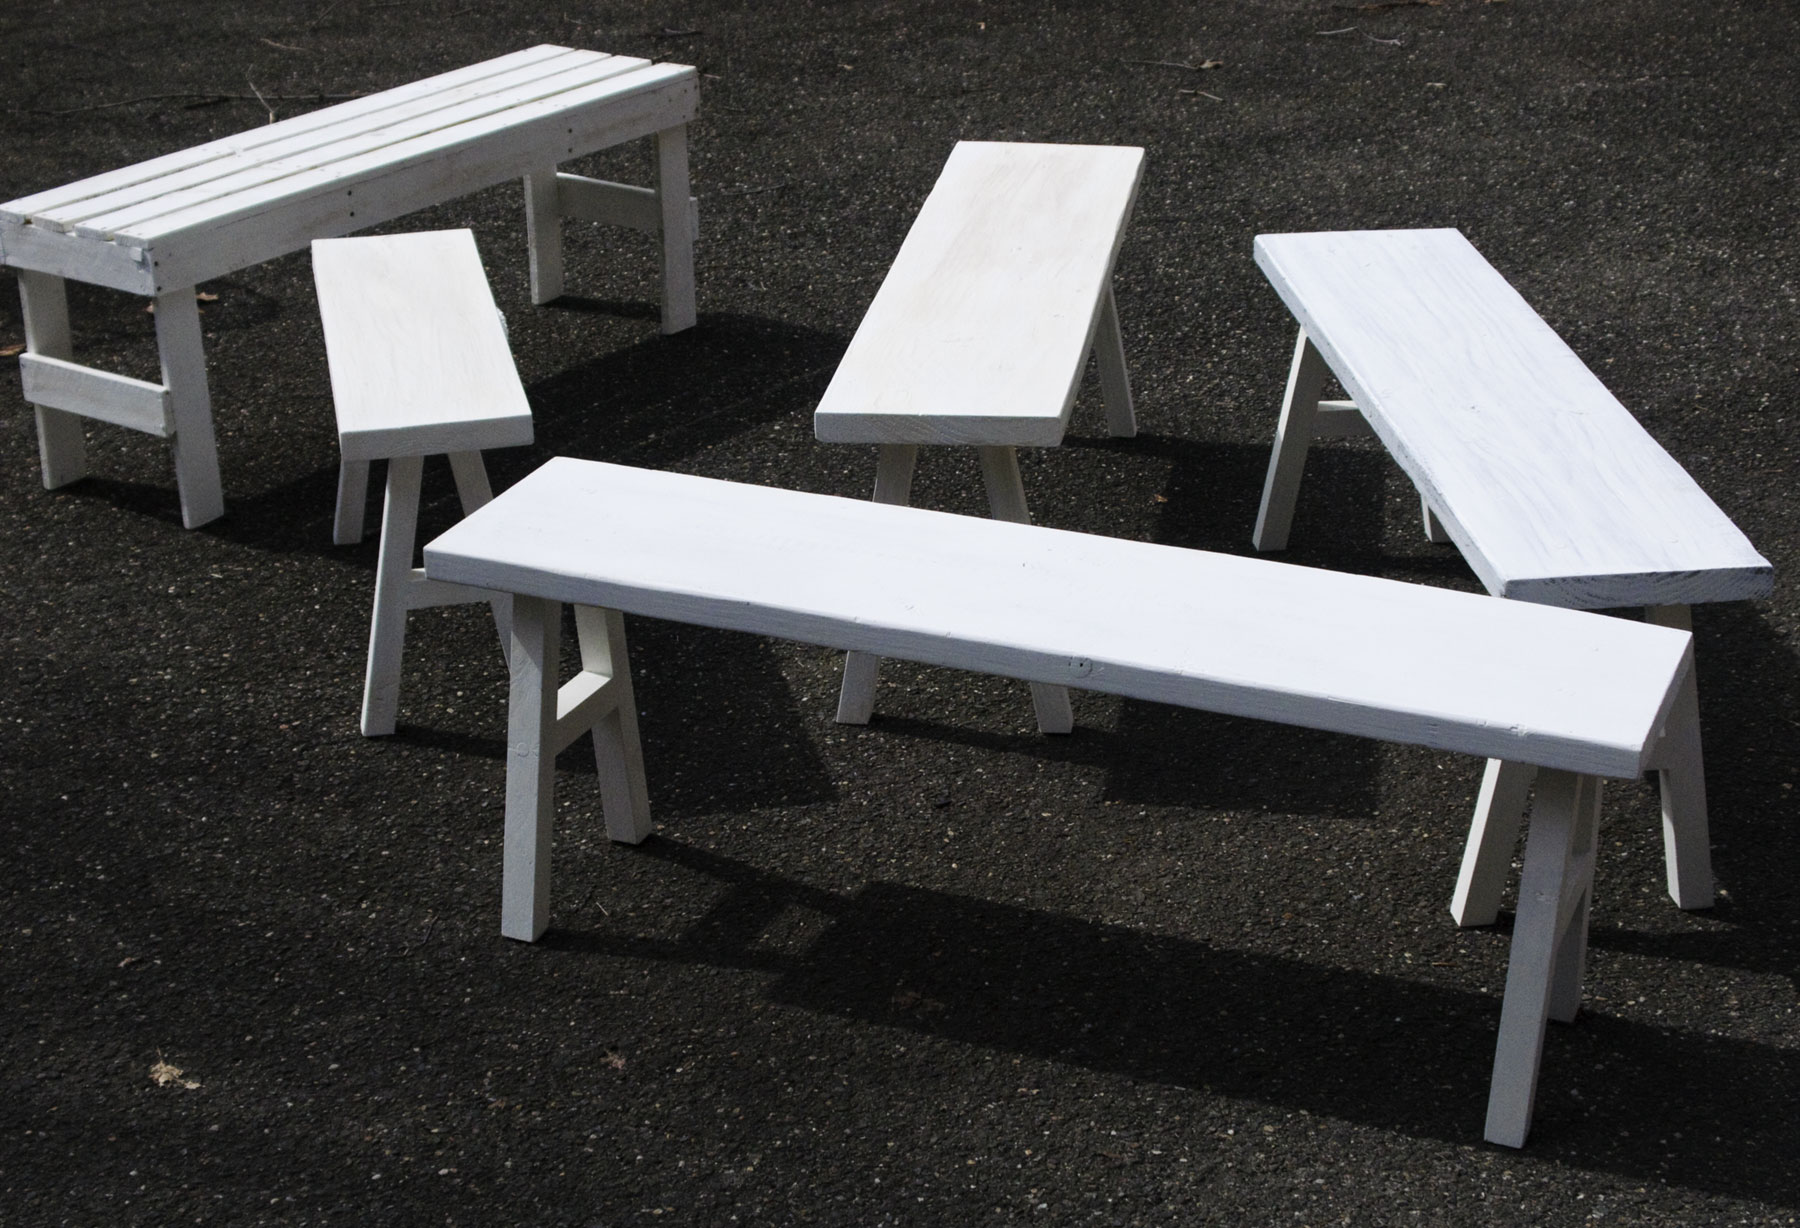
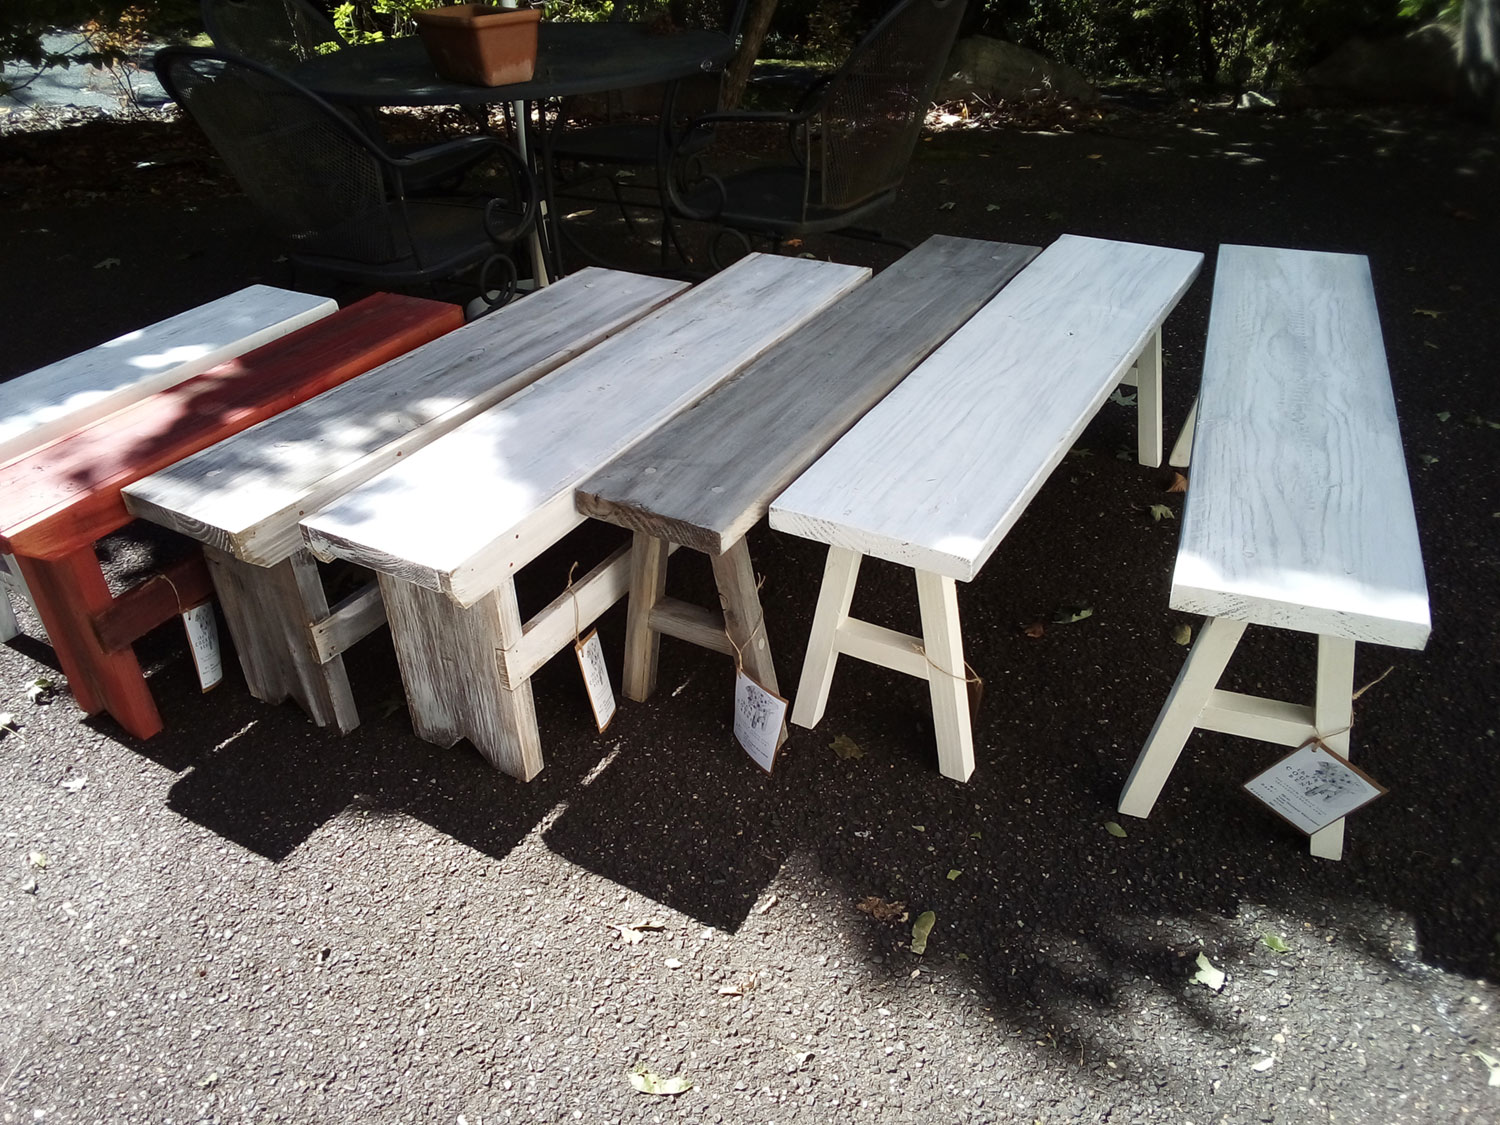
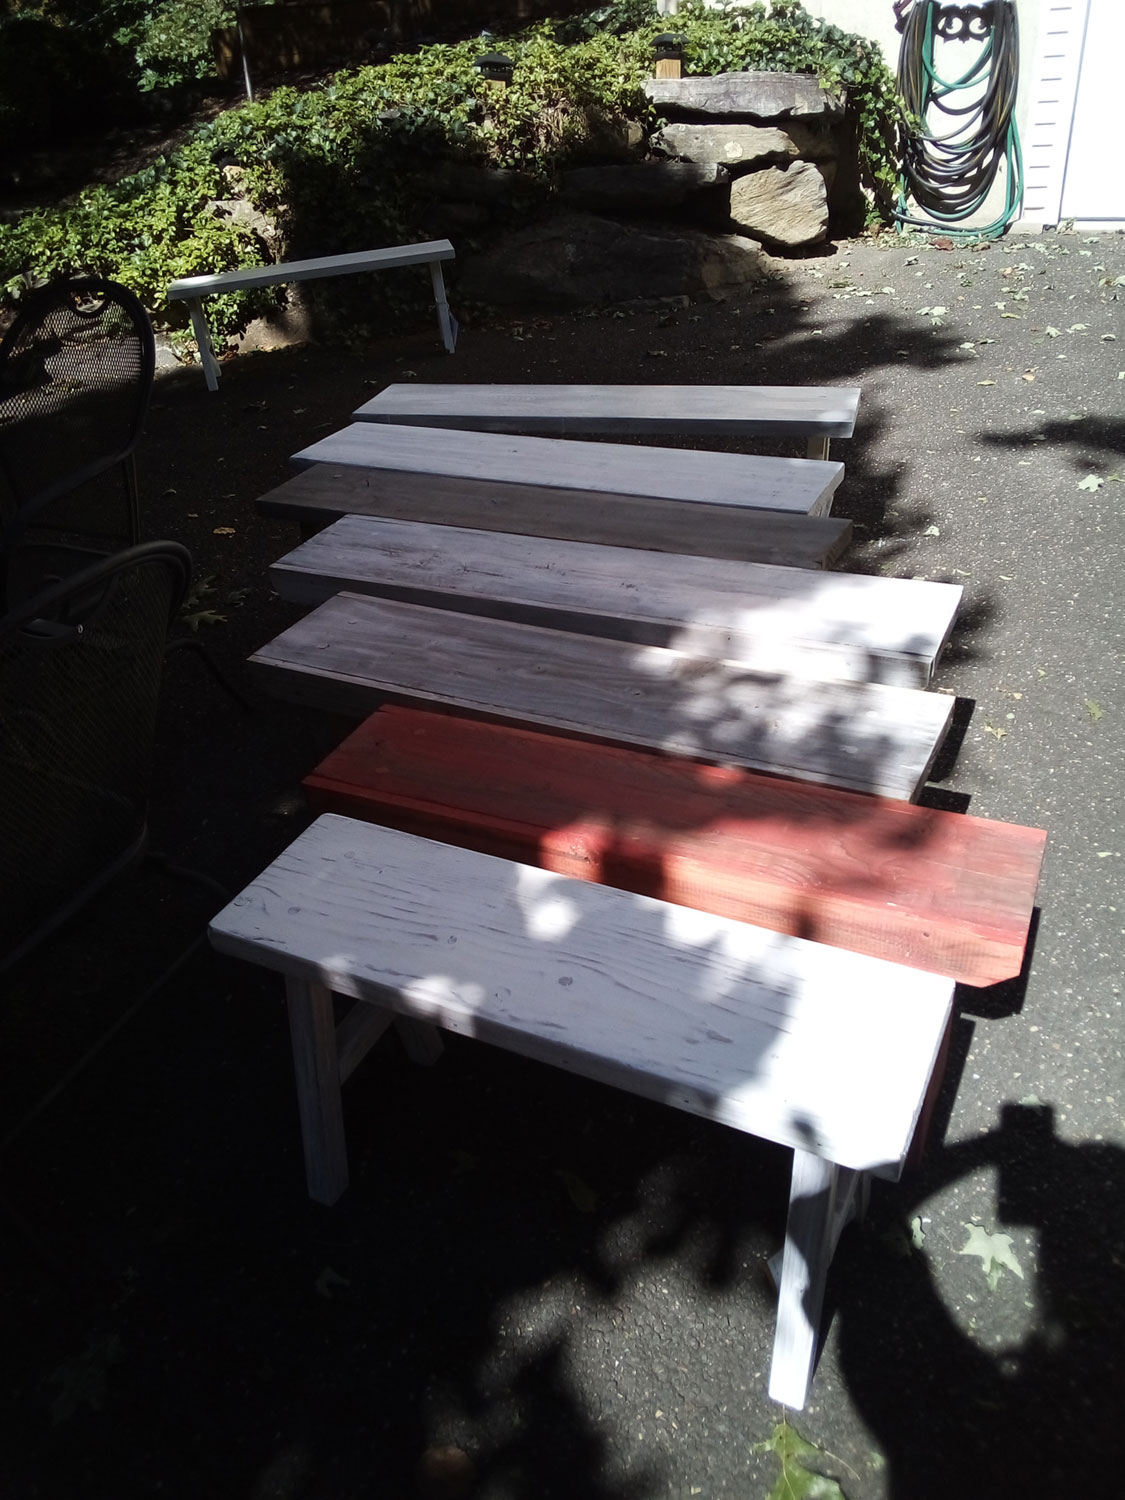
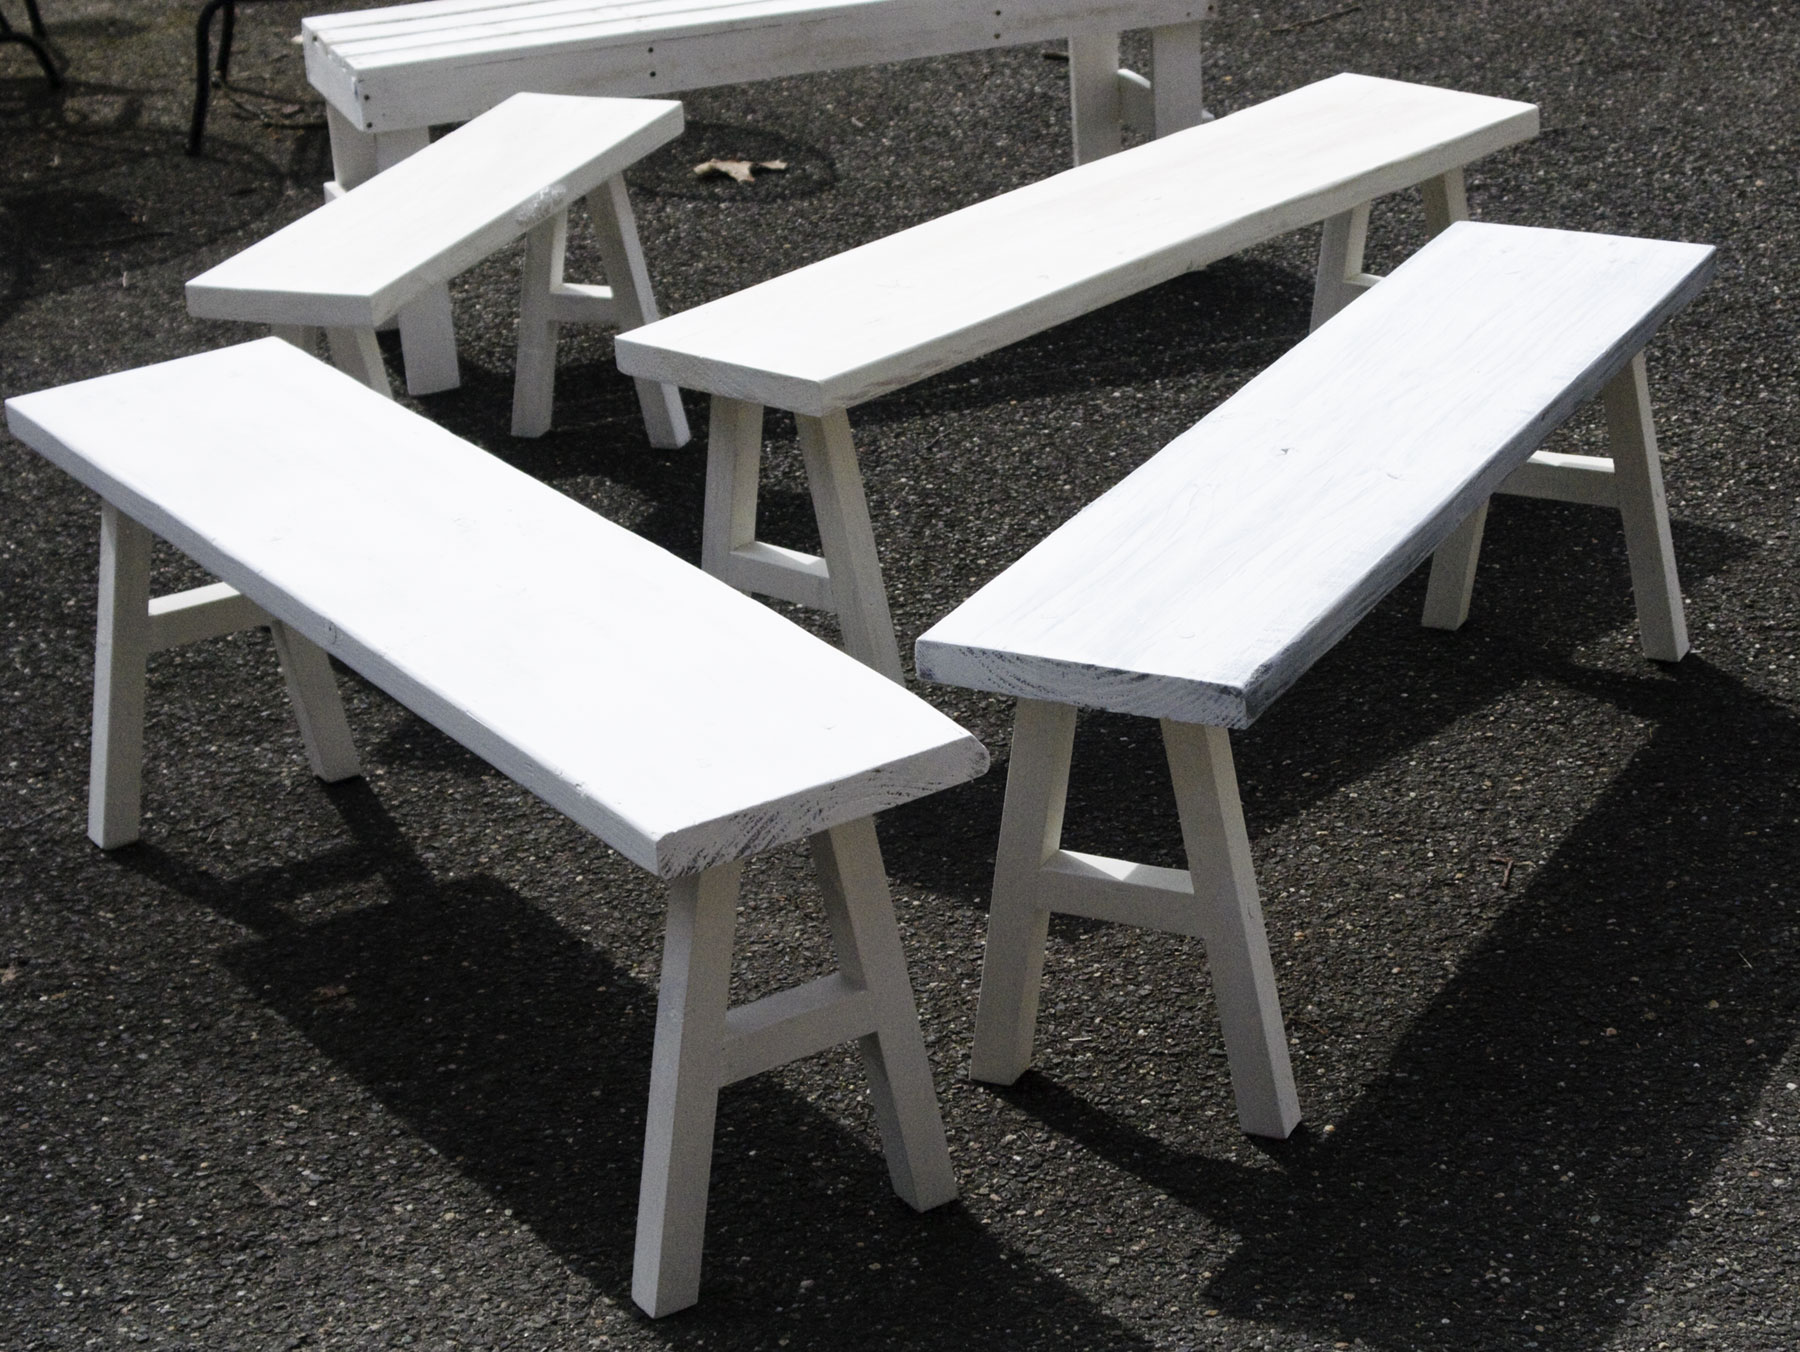
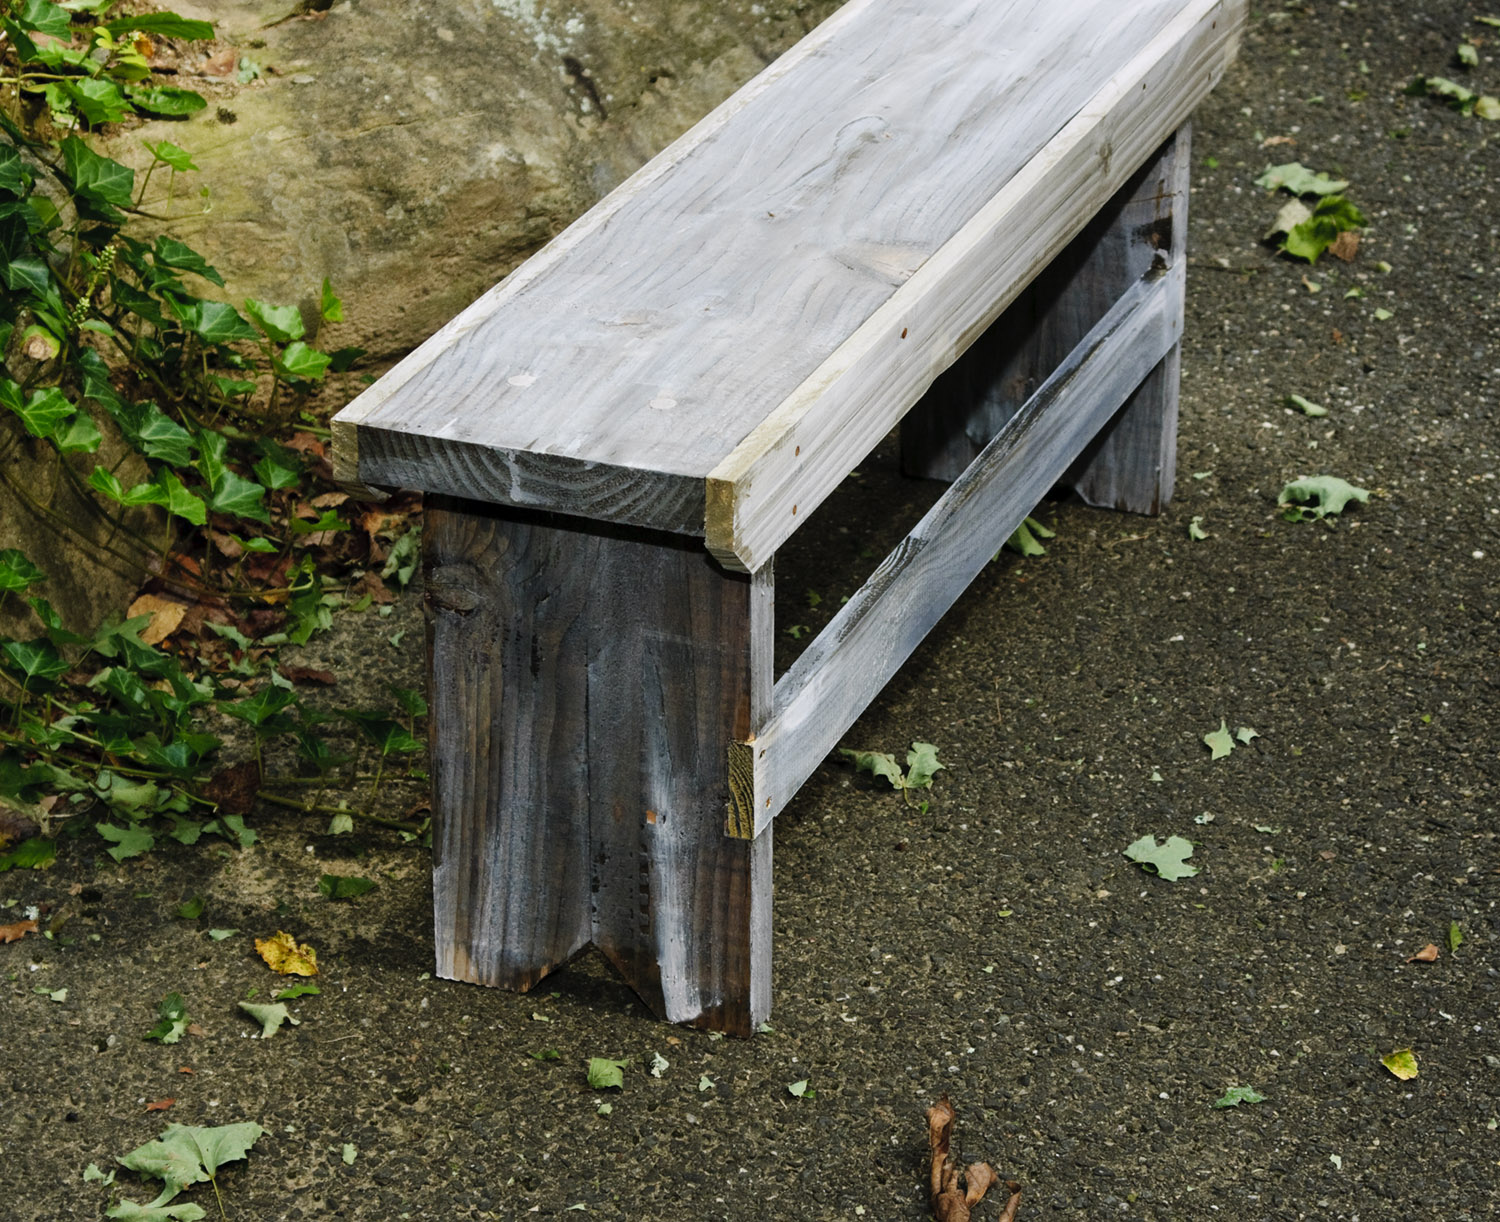
These benches are massive, and great looking - they are available in a number of colors, and really look perfect on a porch, under the spreading maple, in a hallway or at the foot of the bed...
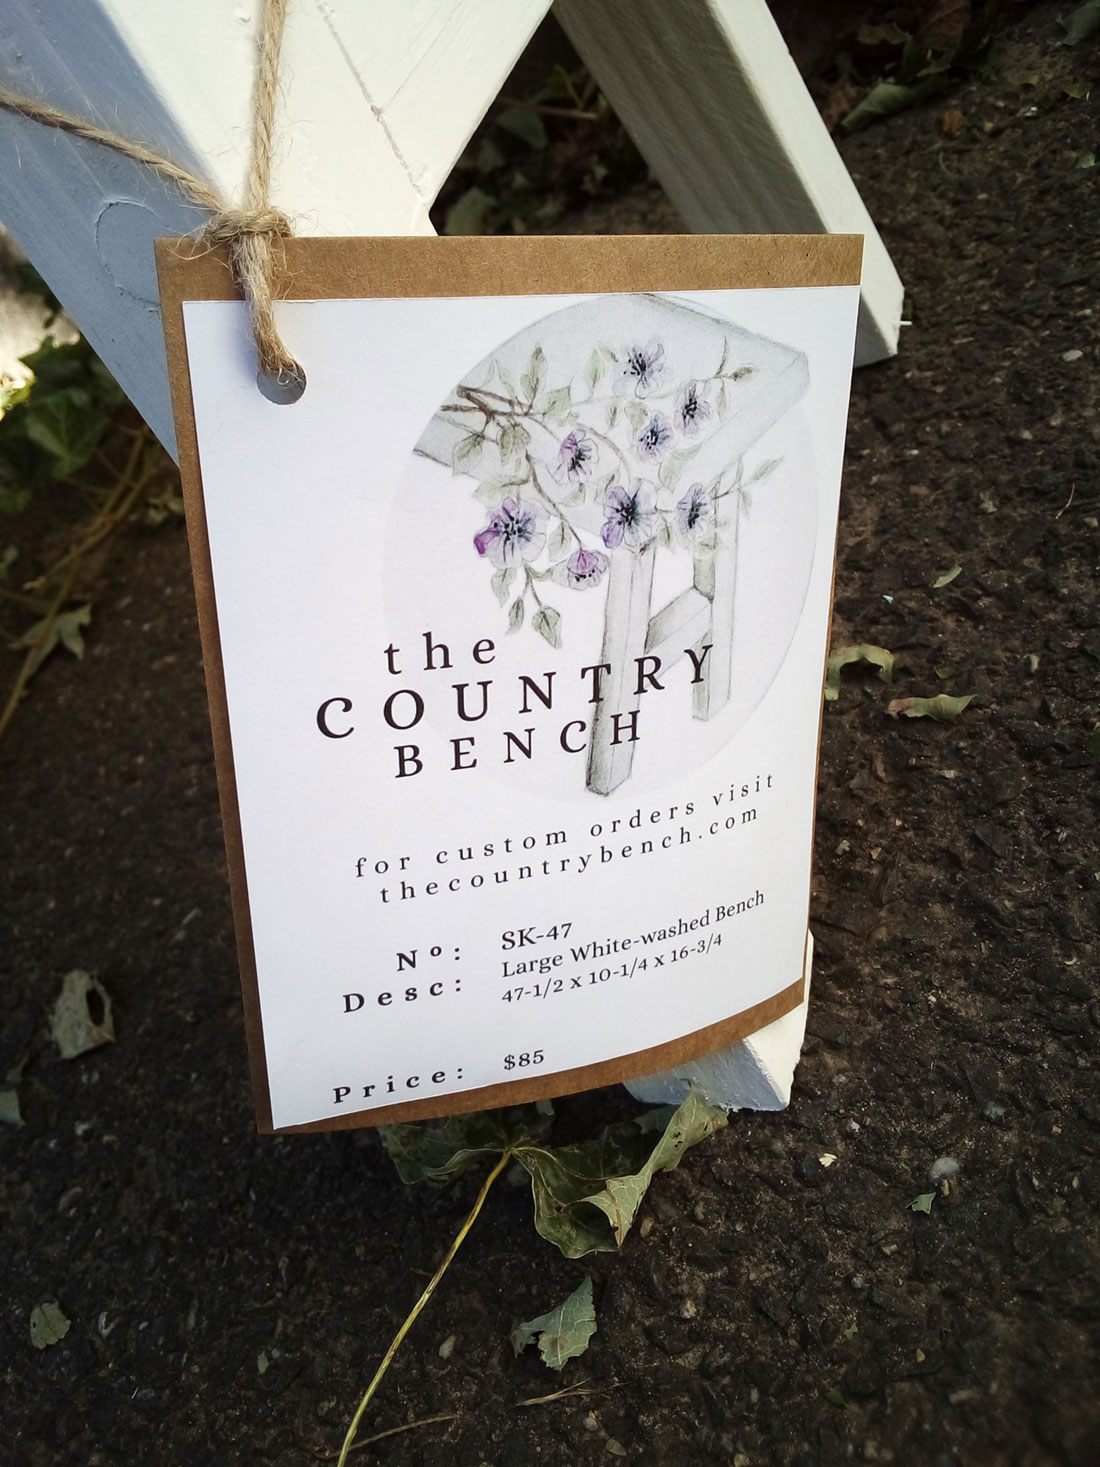
Yes, we keep inventory! Feel free to reach out for the current stock, we can ship within a few days...
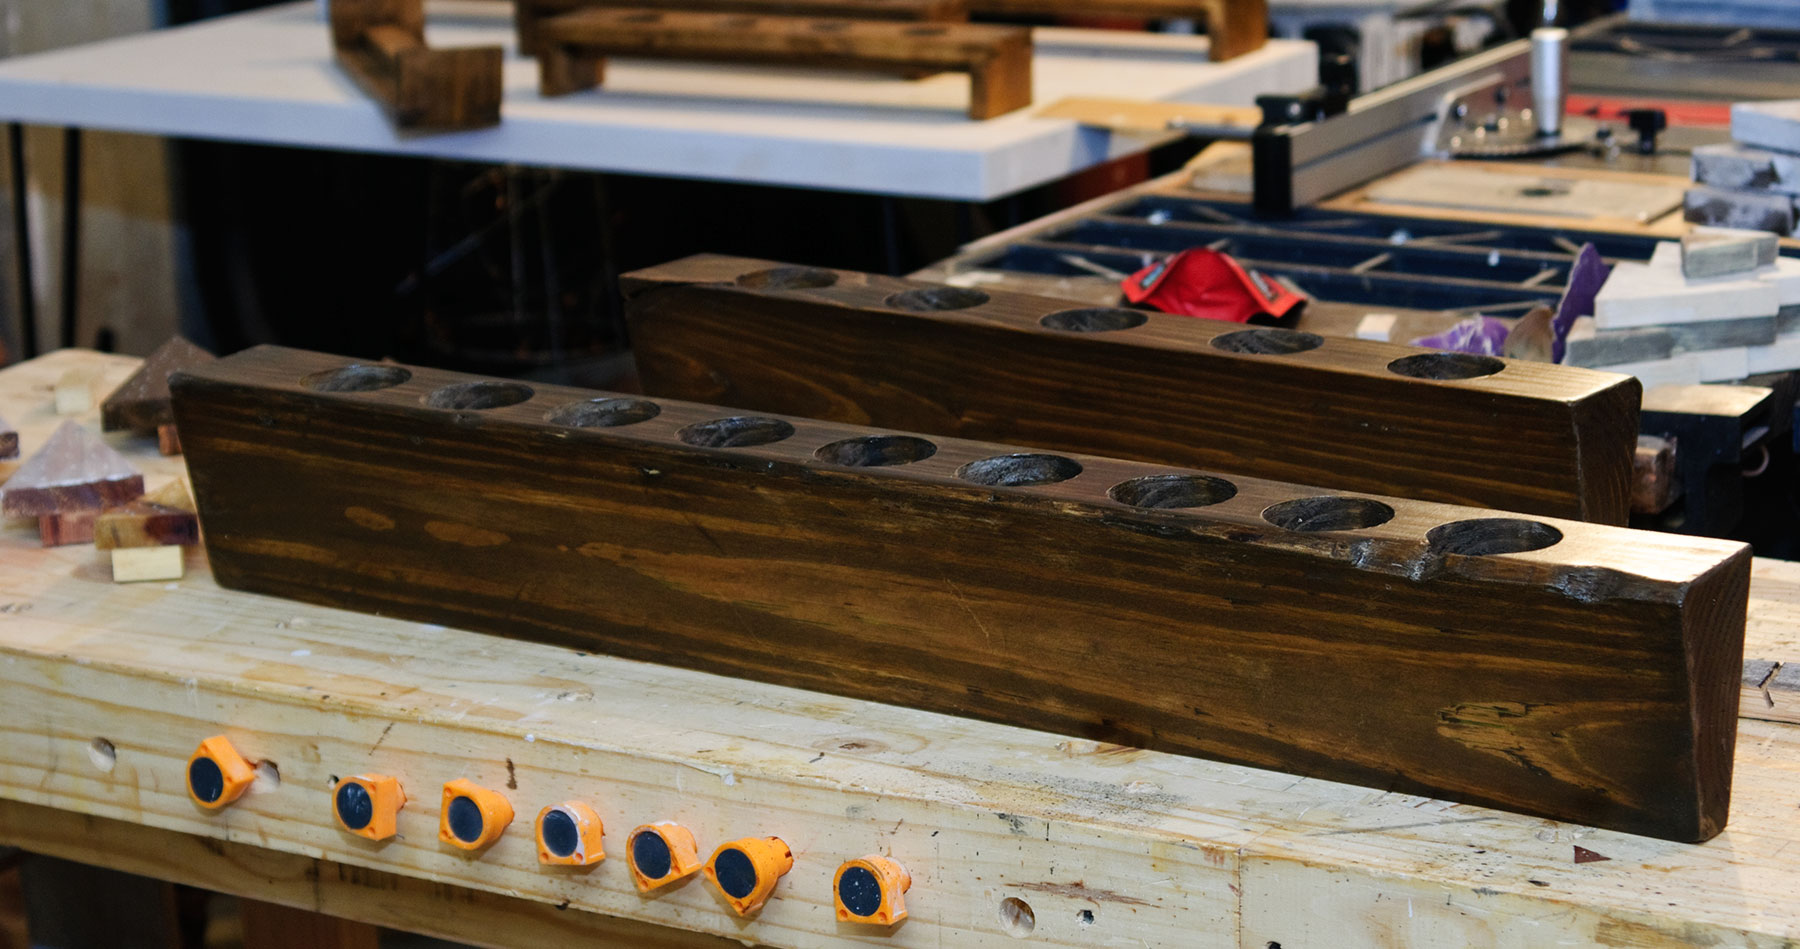
The perfect candle holder
We start with a massive 4" x 6" beam. The nine hole version is 35-½ inches in length, and we cut an 11° angle in the base to give it the unique shape. The cut takes two passes through the saw to complete, since it is a more massive piece of wood than our 35 year old saw can handle in one.
We use a 60mm Forstner bit in the drill press to make the 1" deep holes. The mess was inspiration for yet another attempt to make an efficient dust collection system...
Once cut, the fun starts. we plane it by hand using three different kanna, until the surface is as glassy as we can get, then we sand the monster on all sides with 80 | 150 | 320 grits using my multi-tool, much to the annoyance of the rest of the house.
Once smooth, we stain it with the Varathane Dark Walnut, twice, with a light sanding between coats. We then finish it with clear Butcher's paste wax, applied by hand, then polished using the multi-tool again.
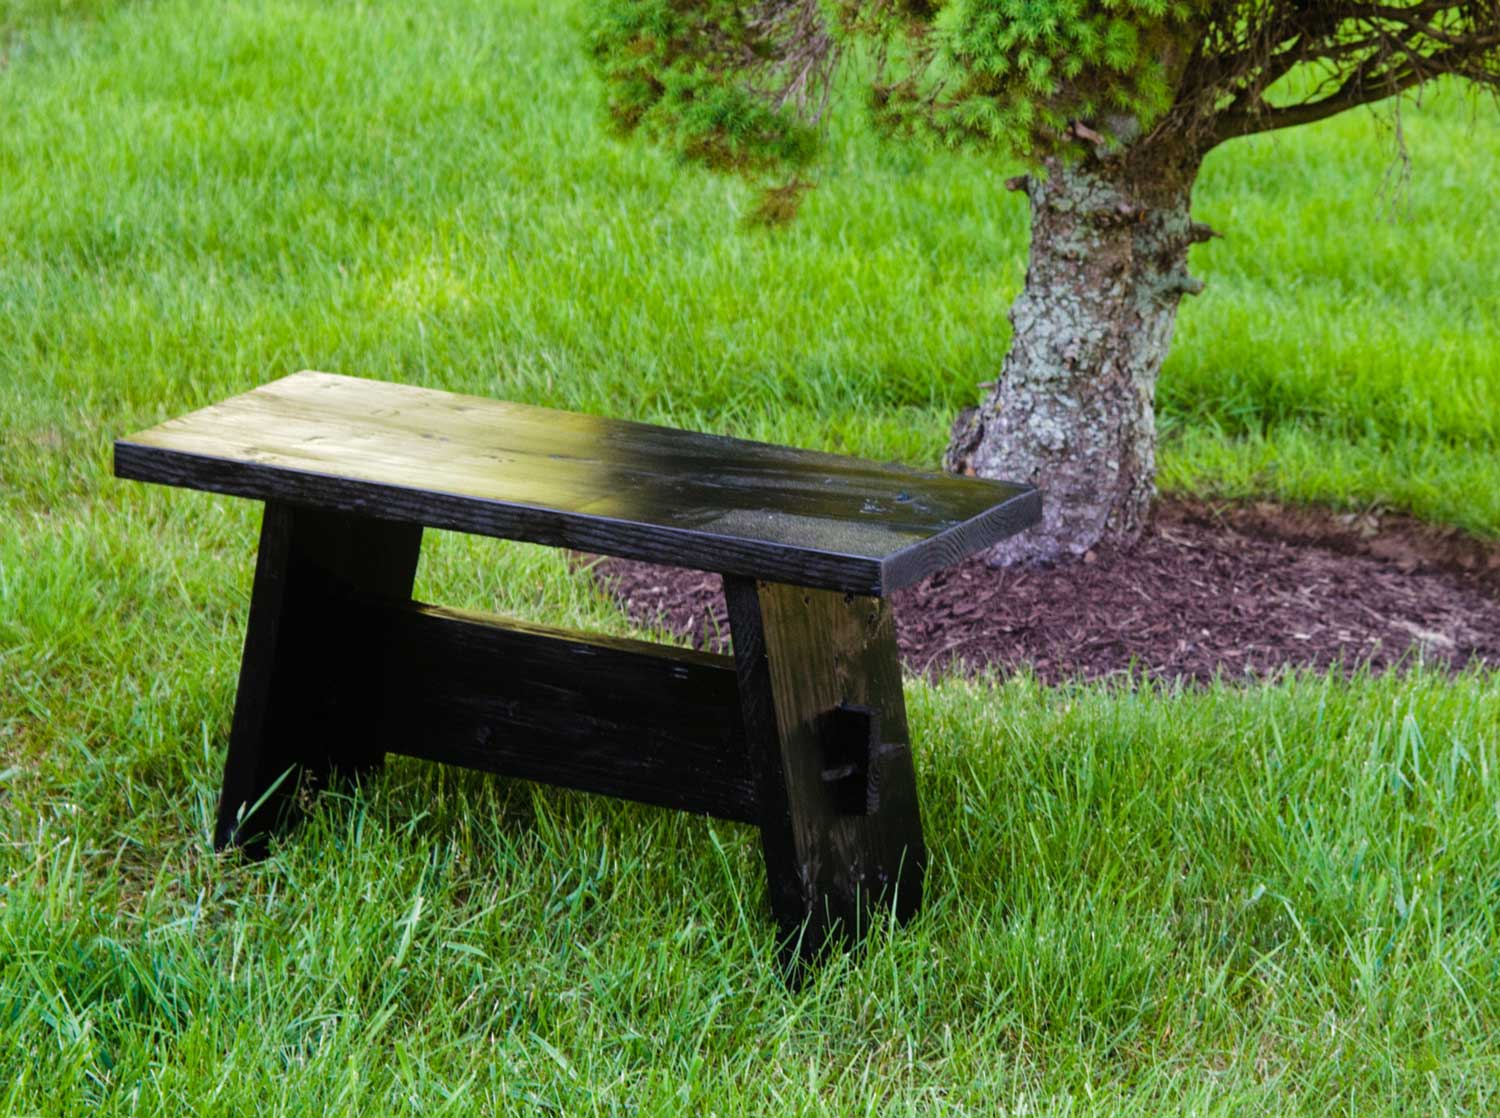
Massively Primitive
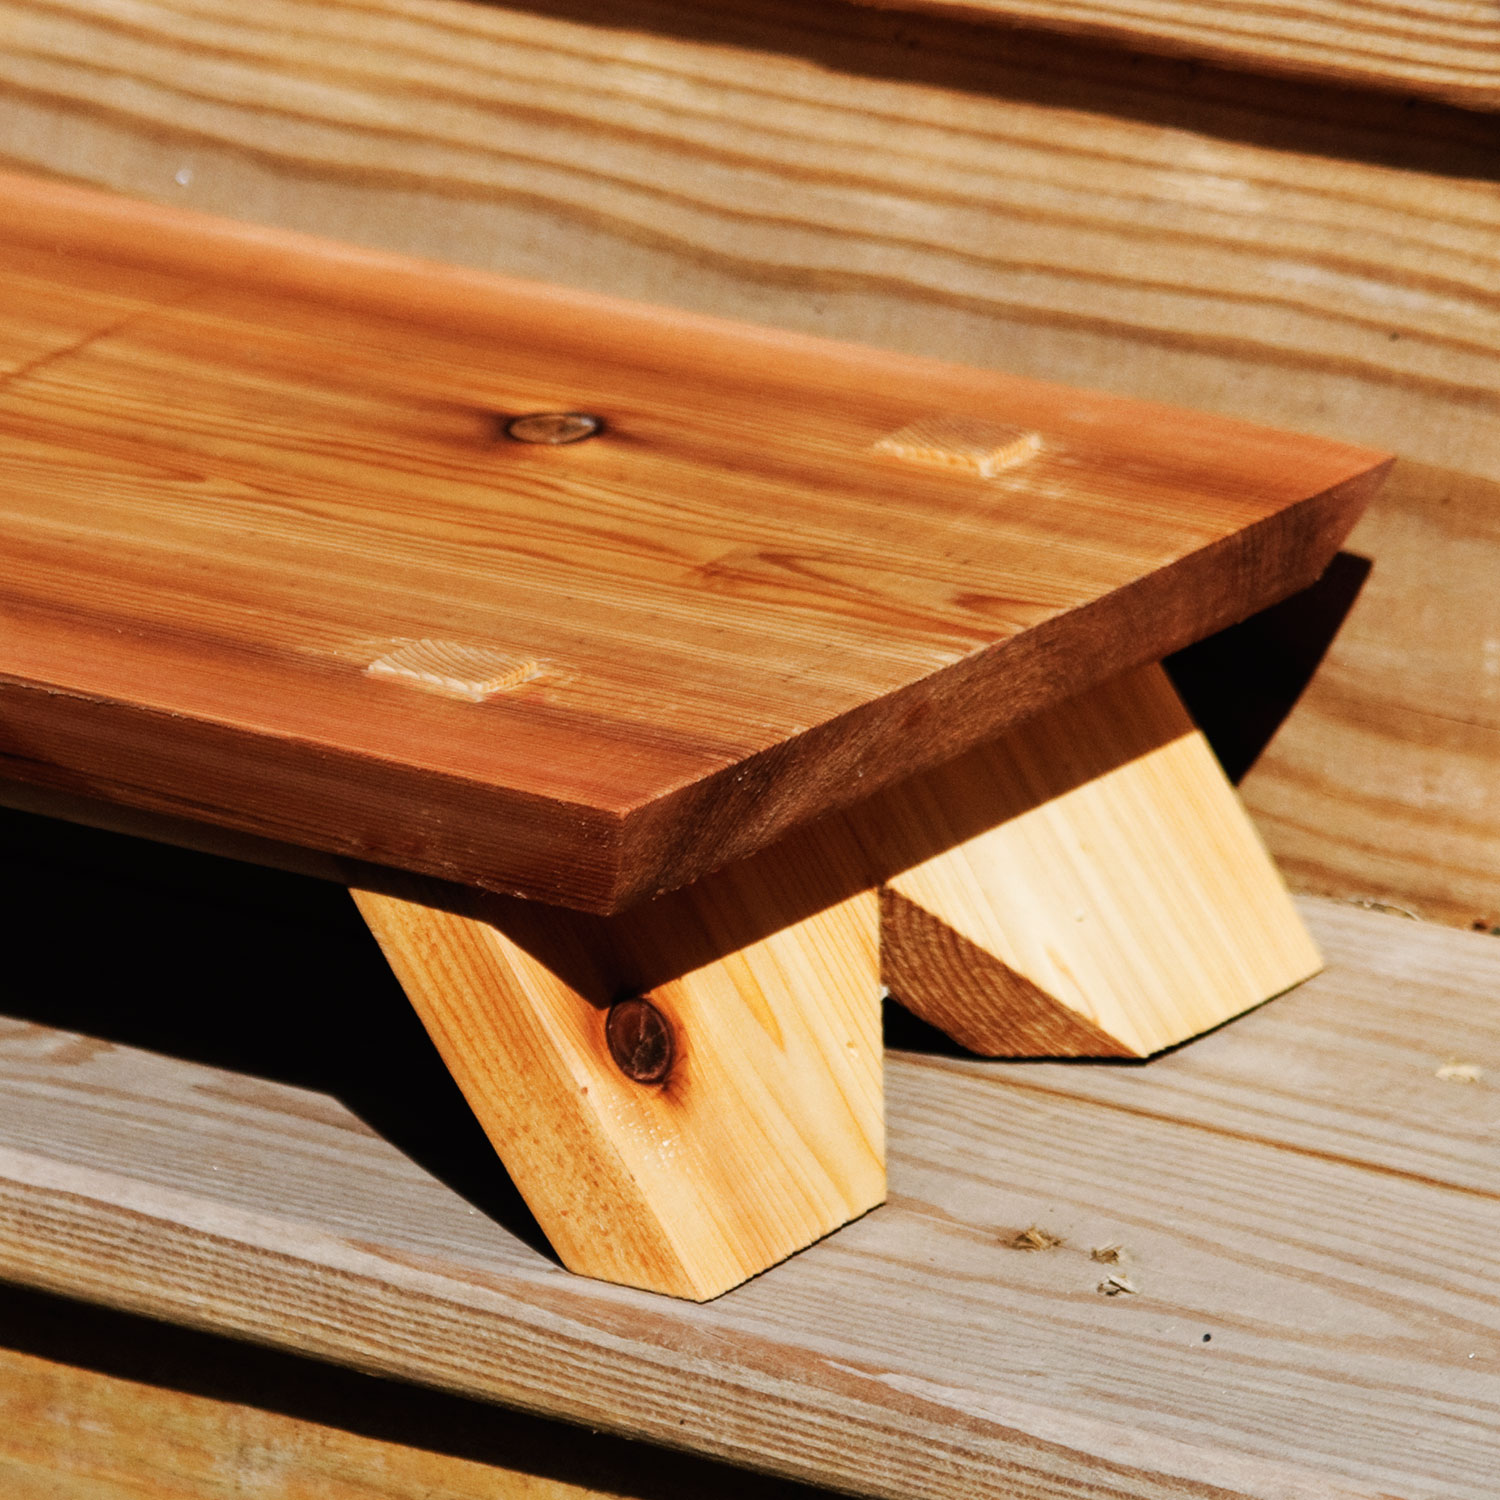
We rip a 2x10 to clean up the edges. After cutting the seat to size we then rip the two leg pieces up the center. We cut a nice angled cut out from the bottoms and then glue them back together with hidden dowels. We cut a notch from each leg to accommodate the slat, and using the same 1x, we cut the two side pieces.
Once the legs are ready, we plane, and then sand all the pieces down. If we are distressing it, we soften all the corners with the sander, hit the wood of the seat with chains, crow bars, old fashioned hammer heads, and then use a wire brush to complete the 'aging' process.
For quick antiquing, a solution of cider vinegar and steel wool gives a great, grey patina, or there are a variety of other mixes, including diluting high quality latex paint with white vinegar...
Assembly is done with waterproof carpenter's glue, then we drill holes to place dowels about three inches into the wood with gorilla glue. Once the body is dry, we add the sides using waterproof carpenter's glue and nails.
Very pretty


Playing in wood...
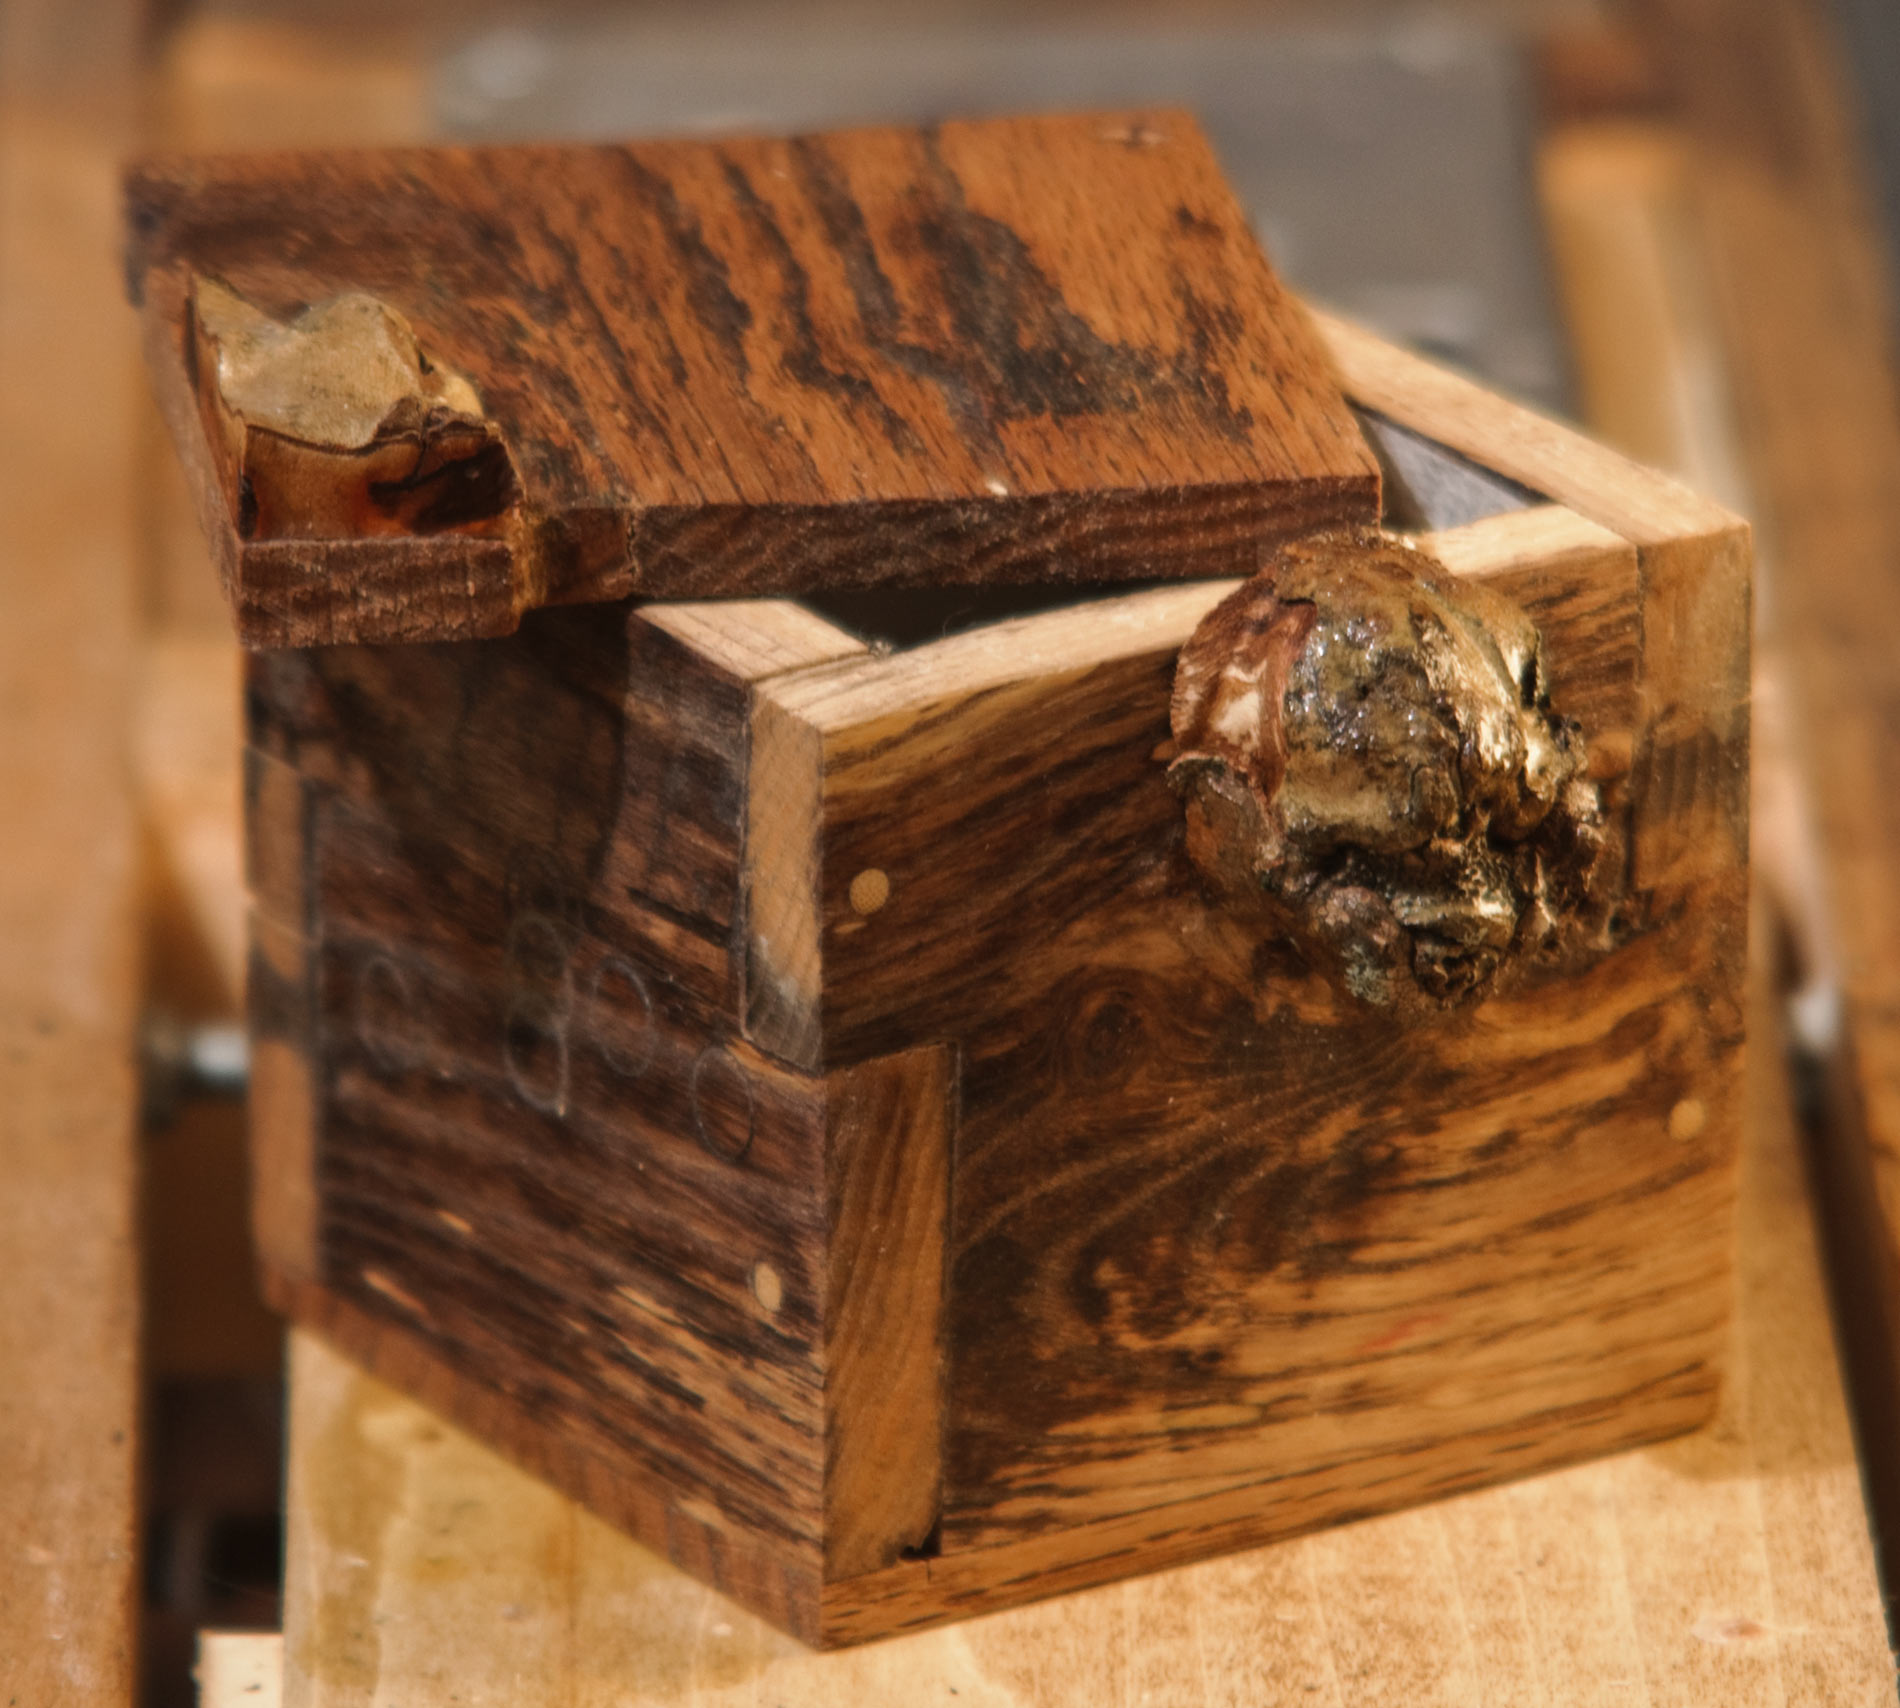
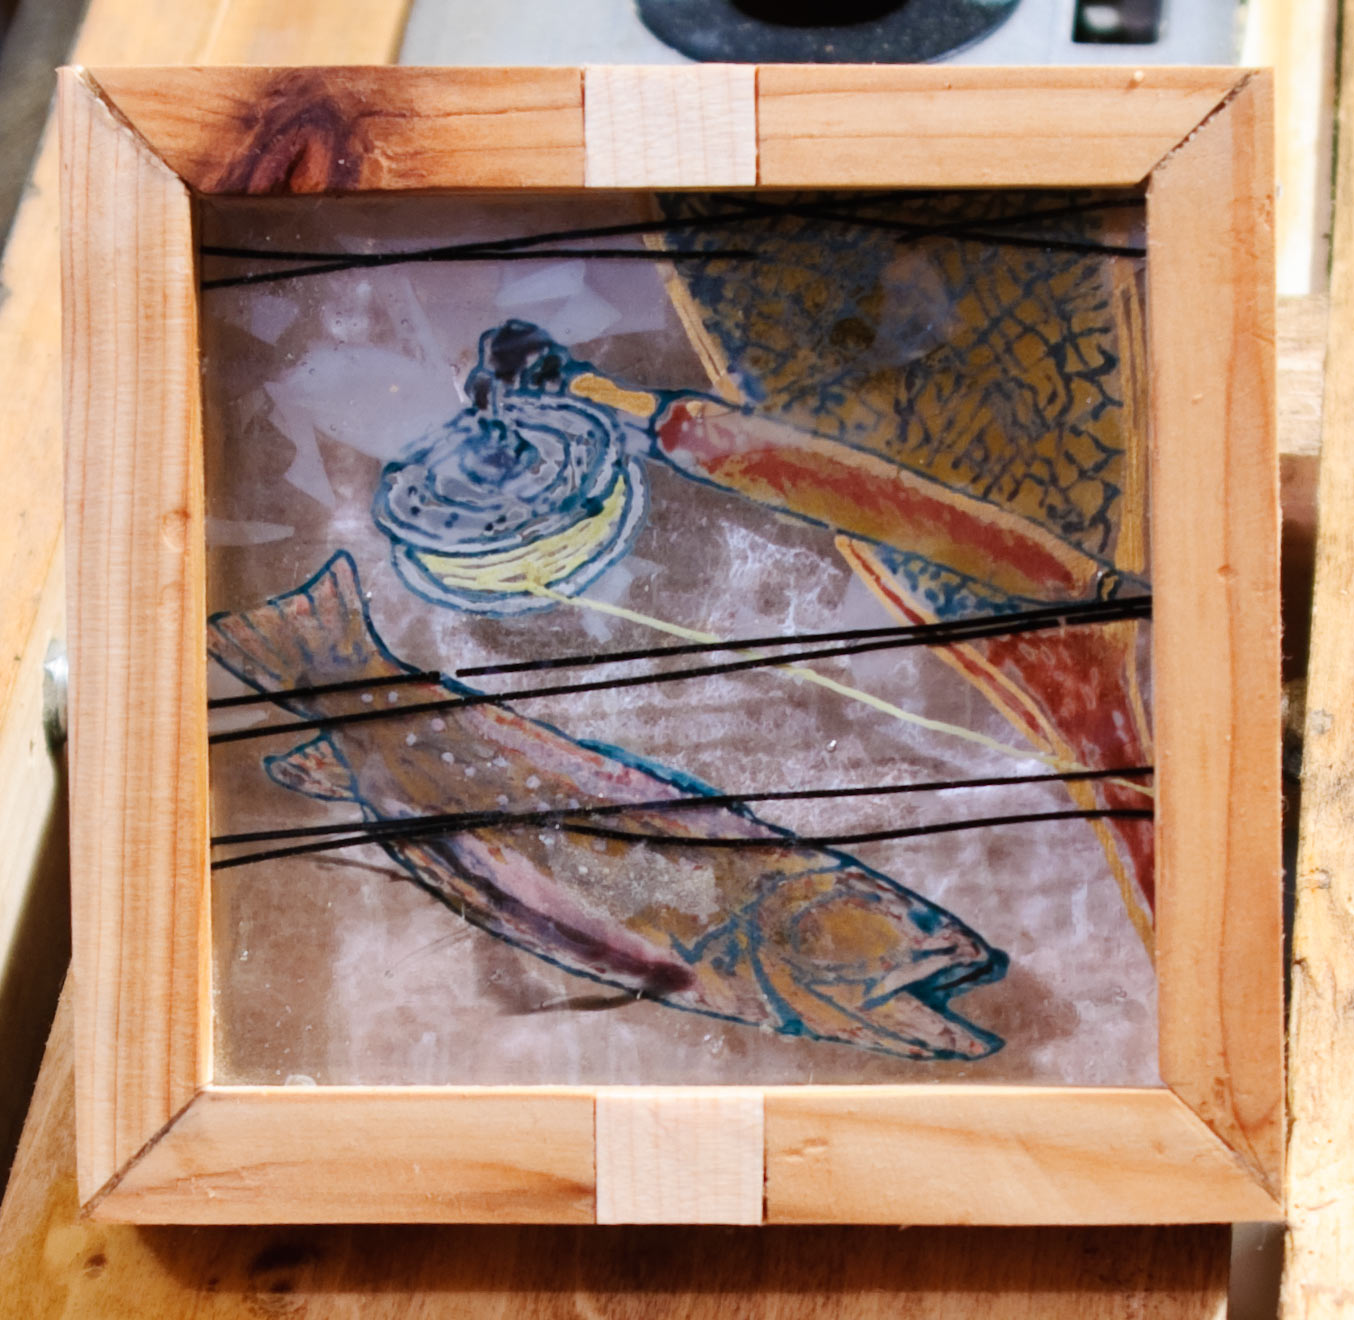
There is a lot of fun to be had smashing found things together, some really old oak, some bamboo nails, and two small tree bolls. Once upon a time I used to fuse glass, and I framed up two pieces I had left, trout fishing themed.
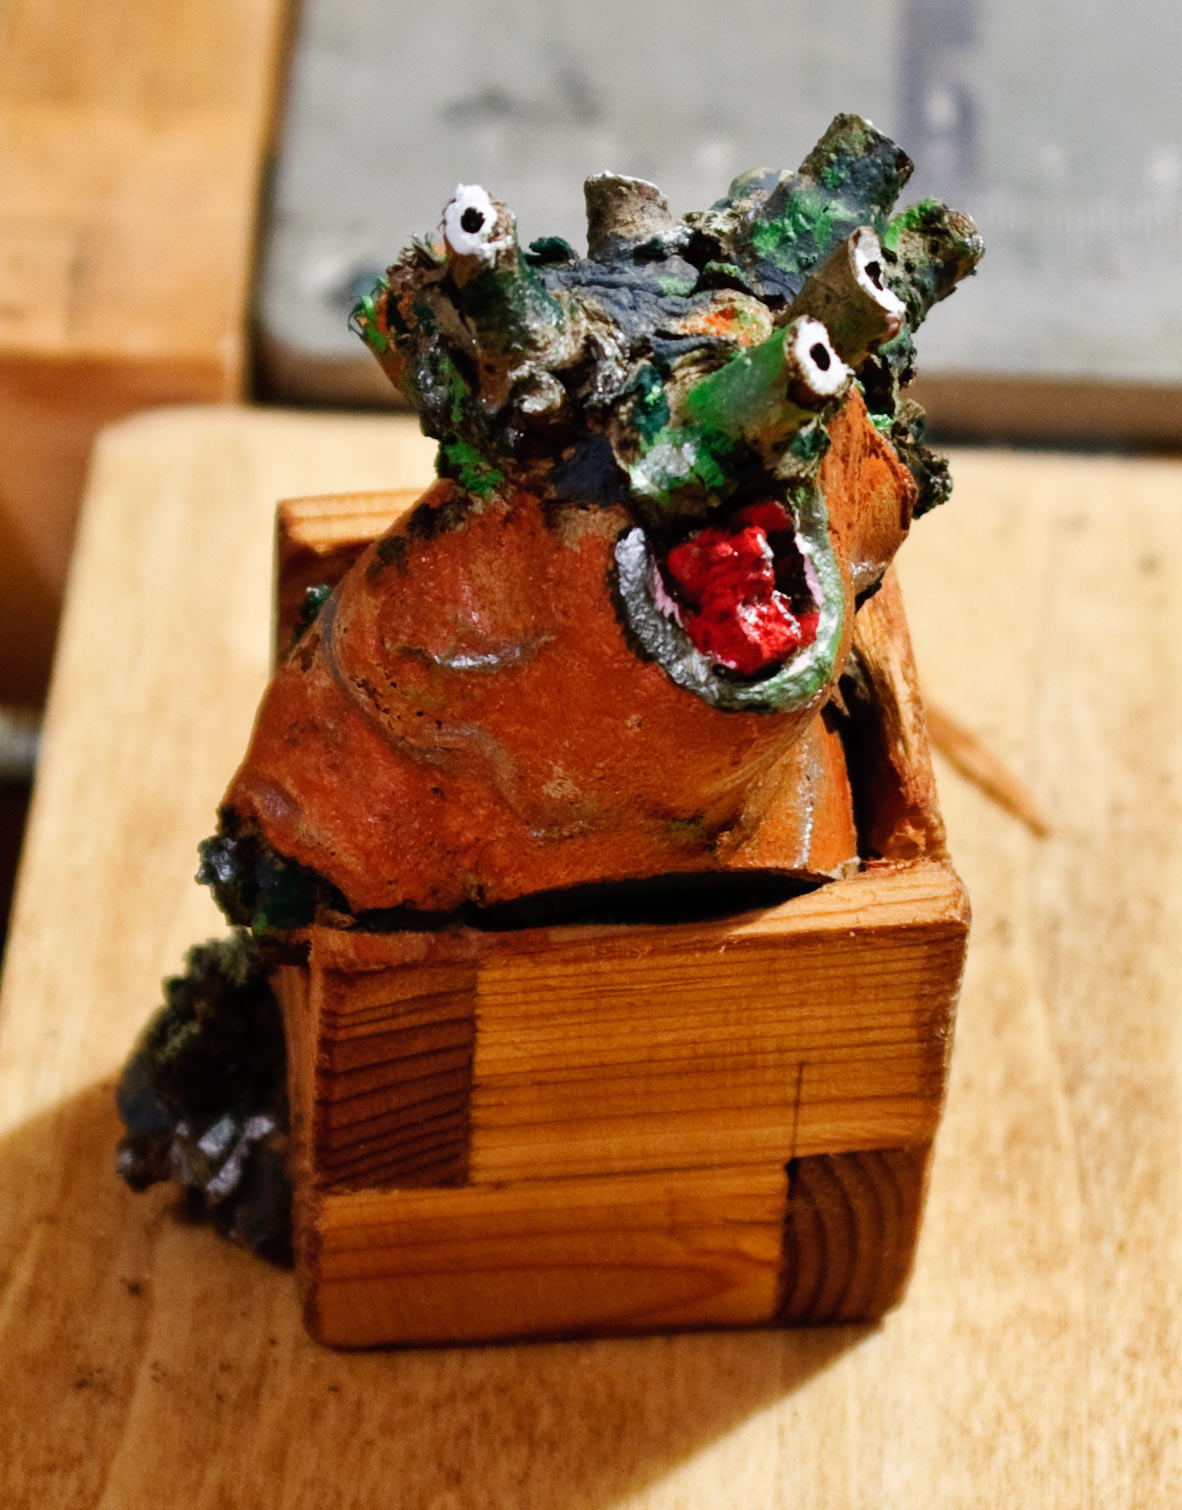
Then there is the stash box, lined in mulberry paper, and the little box of monster... And I thought these pumpkins a very cute decoration.